
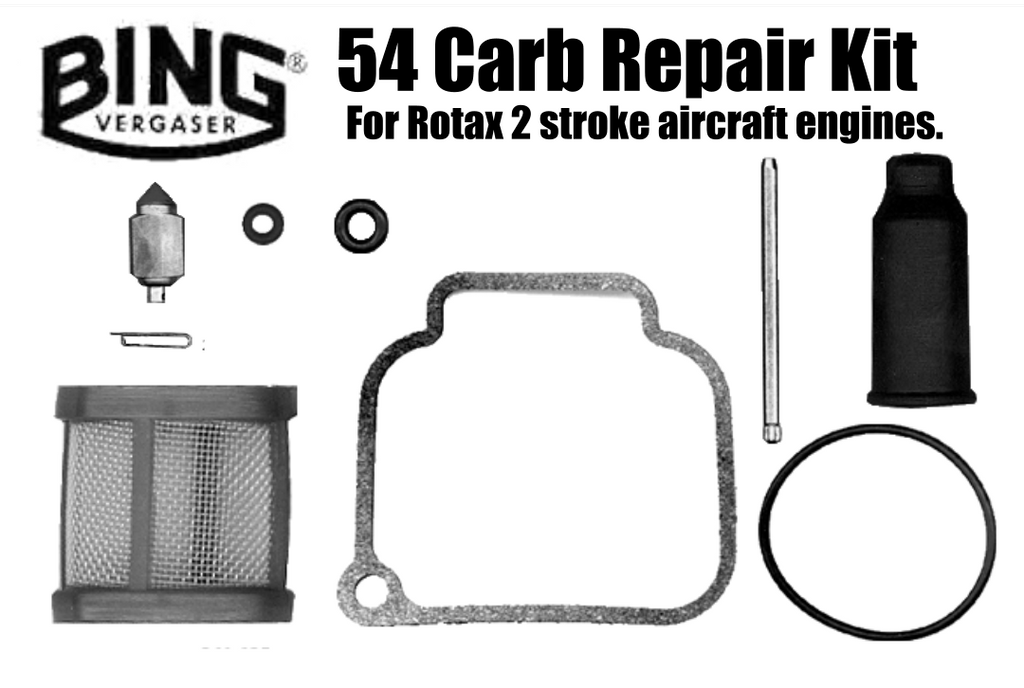
Servicing the Bing 54 carburetor on Rotax two stroke engines - cleaning procedure.

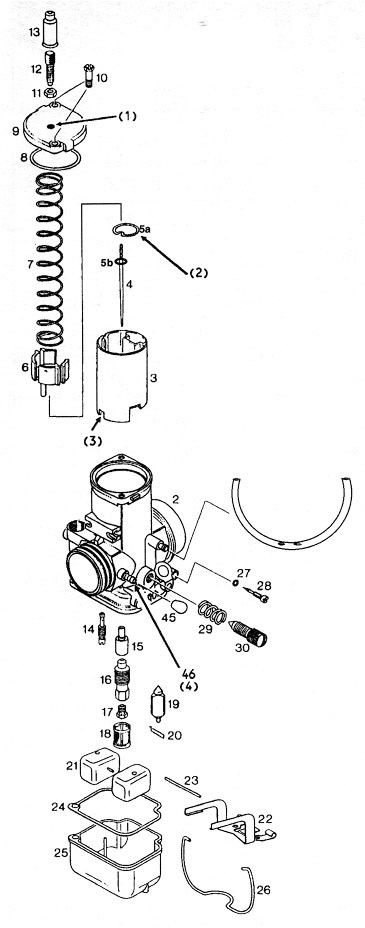
At this point we need to clean the parts, using our carburetor cleaner. Put on your eye protection, and rubber gloves. Take your float bowl fill it about 1/2 full with cleaner, then put all of your small metal parts, jets, needle jets, clips, idle jets, idler screw, float arm etc. in the fluid, and let it sit for about 30 minutes.
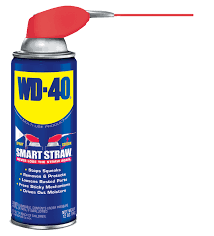
While the smaller parts are soaking take the carb body and give it a thorough cleaning, using a brush and carb cleaner. Once cleaned used compressed air and blow through all of the orifices. Then take your can of WD 40 and using the plastic hose that comes with it spray the WD 40 into all of the holes. When spraying into the needle valve hole (where #19 goes) and the idler jet hole (14) spray from the bottom of the carb back INTO the hole.
Many times dirt and debris will lodge itself in the carb body behind the needle, only to jam up the needle the first time you go to start the engine. WD 40 tends to move things out of the hole even better than compressed air. DO NOT use water to rinse the carb out!!
Now take your small parts out and inspect them. Look through your jets - you should be able to see through the center of them. On the idler jet there are a number of holes along the bottom side of the jet, these also should be clear.
If it looks like ANY residue is remaining on the jet(s) - DO NOT use a wire brush to try to remove it! Replace the jet(s). With all the parts clean - and or replaced spray them with WD 40 and set them out on a clean rag to dry.
Bing 54 carburetor Reassembly Procedure
From your carb rebuild kit retrieve your new Needle Valve. Place it into the hole in the carb body, then carefully slide the tiny spring clip on the Needle Valve back onto the Float bracket needle valve adjustment arm - located in the middle of the Float Bracket (22).
Holding the Float bracket in place, slide the Hinge Pin back through the holes in the body of the carb, and through the hinge openings in the Float Bracket. Use your hammer and drift to drive the knurled end of the Hinge Pin back into the body of the carb.
Bing 54 Carburetor Reassembly Float Arm Adjustment
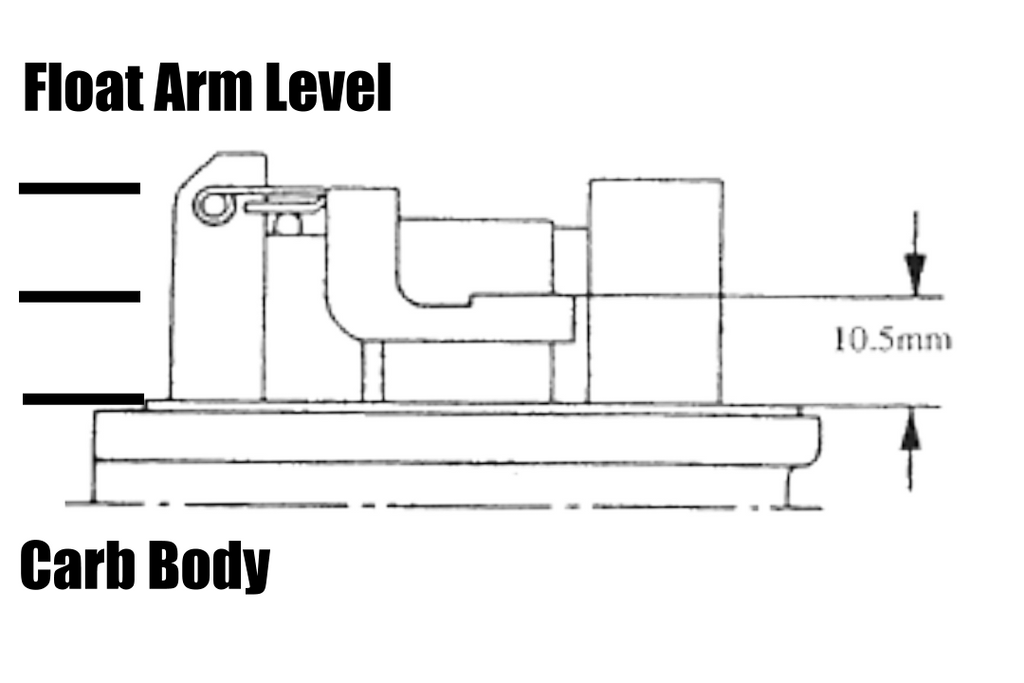
Turn the carb upside down on a flat bench. Visually look at the two float arms they should be level with each other, and parallel to the base of the carb.
If the arms are not level with each other, bend the arms to level them and then bend the center tab, as necessary, to make them parallel with the base of the carb.
BEFORE you reinstall the Idler Jet, Needle Jet, Mixing Tube, and Main Jet, verify that they are correct using the Bing jet chart. In some cases if your engine was running rough at an idle, or had hot spots at cruise or when you backed down on power - you may want to change these jets.
For more information click here.
Slide the new Sieve Sleeve over the Mixing Tube. Install the new cork gasket on the body of the carb, and reinstall the twin Floats onto the pins in the Float Bowl. Put the Bowl back onto the main body of the carb, and secure it with its spring clip.
If your carb does not have the updated vent tubes, take a short piece of primer line - attach it to the venting outlets on each side of the carb.
Now use pair of wire cutters to NOTCH the hose a couple of times in the center section directly below the carb body.
Install the spring onto the Idle Speed Screw, and screw it back into the side of the carb. Screw it all the way in and then back it out 3 complete turns. Install the small O ring into the Air Screw hole and install the Air Screw (28). GENTLY screw the Air Screw back into the body of the carb all the way and then back it out the recommended turn(s) as per the Bing jet Chart.
Click here for the Bing Jet Chart.
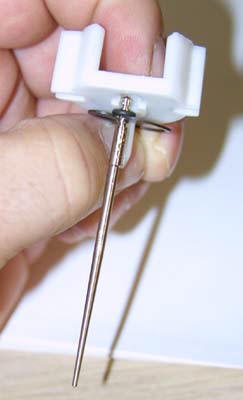
Now if you haven't already - update to the new clip, needle, O ring, and spring cup, (Click here for more info) and then reassemble the jet needle, E clip, and tiny O ring that prevents the jet needle from spinning inside the E clip. Slide the new rubber grommet (13) over the throttle cable and put the new large O ring on the underside of the carb cover plate (9).
Put the Piston assembly back together, MAKING SURE THAT THE CLIP AND NEEDLE (4 and 5) ARE BELOW THE SPRING CUP (6)!
Slide the piston assembly back into the carb body, and screw down the lid, on older carbs make sure to turn the cover so that it is centered on the top of the carb body.