
Rotax 185 aircraft engine disassembly crankshaft removal
Rotax 185 Crankshaft removal
Tools required
Propane torch
Screw driver
Plastic/rubber hammer
Procedure
To split the crankcase it is first necessary to remove the 5 screws holding the case together. These are located on the magneto side of the crankcase, directly behind the stator plate.
Note : 2 of the screws are longer.
Once the screws have been removed, place the remaining unit in a vice, clamping to the lower crankcase at the thick castings on the PTO side of the crankcase.
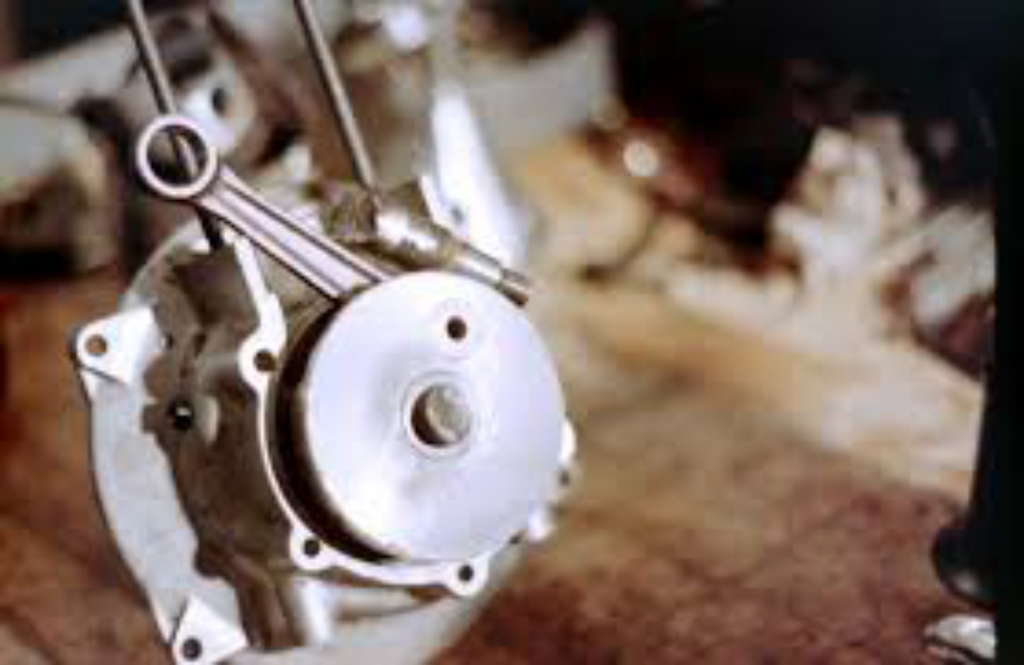
With a propane torch, apply heat to the area of the lower crankcase on the magneto side, around the bearing area. The purpose of this is to expand the aluminum around the bearing retaining area, and make removal of the crankcase from the crankshaft easier.
Once heat has been applied around the outer bearing area, using plastic hammer hit the crankcase in the area of the outer housing. First one side of the case then the other.
The case should come free from the bearing.
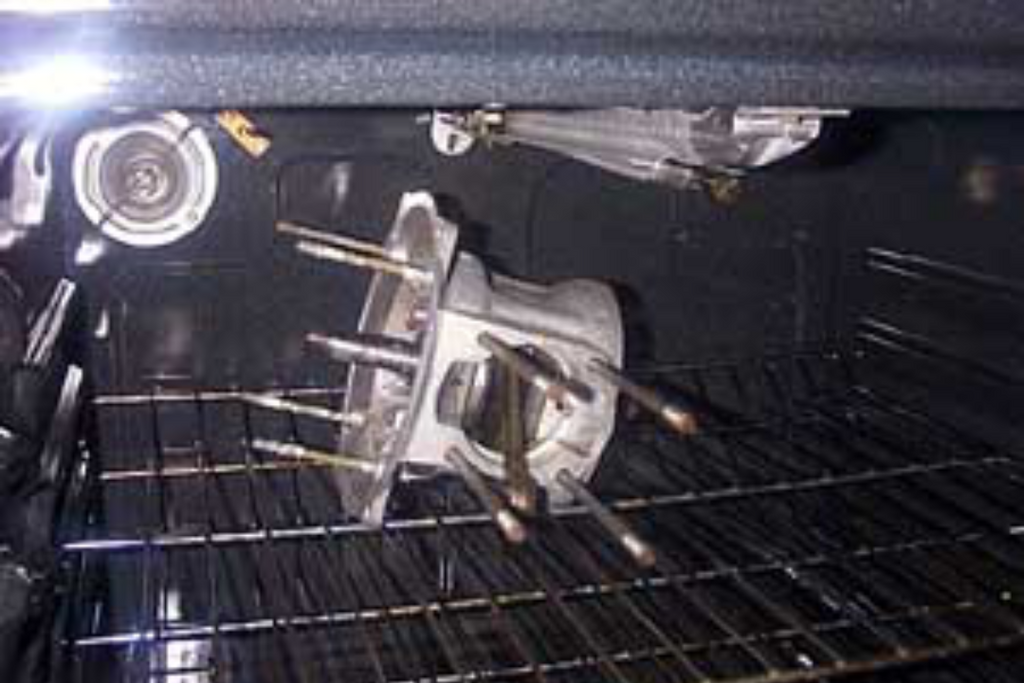
To separate the case from the bearing on the other side, support the case on a level wooden surface, again apply heat to the bearing area.
Place the nut used to retain the prop hub onto the shaft and screw it down until it is flush with the top of the crankshaft.
Then using a rubber mallet or plastic hammer, while holding onto the lower end of the crankshaft hit the end of the crankshaft.
The crankshaft and bearing should come free of the casing.
Rotax 185 crankshaft Inspection
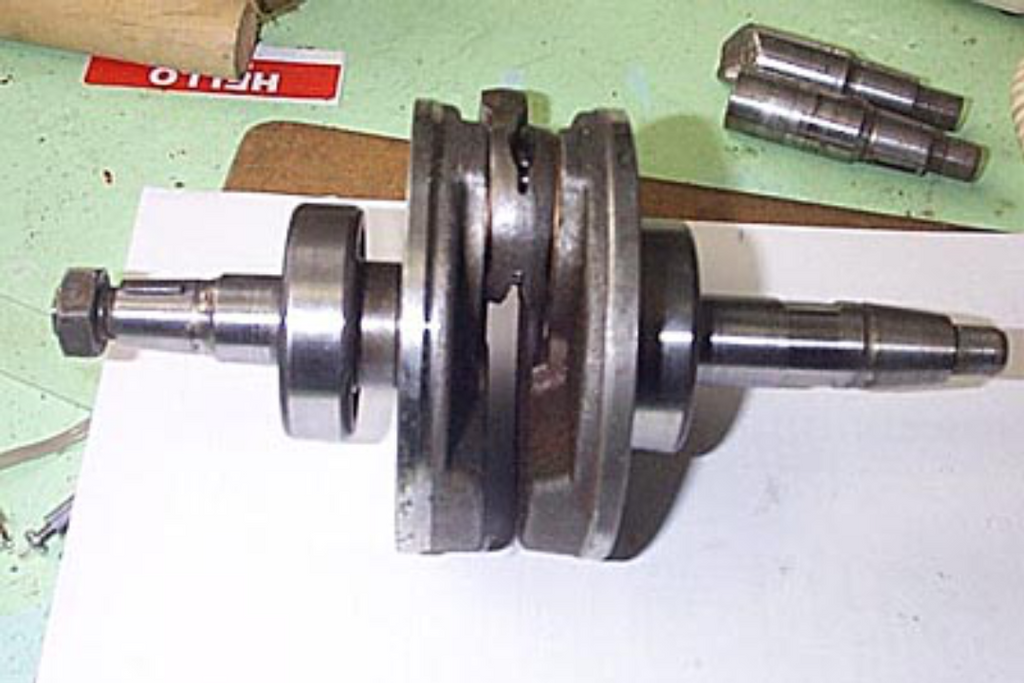
Inspection:
-Inspect seals for signs of leakage.
-Inspect bearings for signs of wear.
-Inspect crankshaft for signs of wear or damage.
-Inspect crankcase for signs of wear or damage.
-Inspect centre crankcase sealing area for signs of damage.
Rotax 185 Aircraft Engine Cleaning

Tools required
Varsol or other good quality cleaner.
Wire brush.
Scraper.
Cylinder hone.
Murata acid.
Small brush.
Cleaning cylinder head.
Using a wire brush and good quality cleaner scrub the interior dome of the cylinder head to remove carbon build up. If headgasket is stuck to head remove it.
Cleaning cylinders
If cylinders have aluminum deposits remove using small brush and Murata acid. Apply small quantity of acid wait a few minutes, flush cylinder with cleaning solvent.
Hone cylinder with, when complete cylinder wall should have a noticeable cross hatch pattern in the walls. Using wire brush, and solvent clean exhaust port.
If cylinder base gasket is stuck to cylinder base remove it.
Cleaning piston
With the rings removed from the piston, use the wire brush/scrapper and solvent to clean top of piston dome. Using old ring clean ring seating area of carbon. Using pointed object, or screw driver ensure that no loose carbon is attached to the underside of the dome of the piston.
Cleaning crankcase halves
Using paint brush and solvent remove any remaining dirt or oil from crankcase halves. If center sealing gasket is still attached remove it.